Linux on Mac ~
I’m a photographer, so Apple and MacOS always seemed like the obvious choice for computer hardware and operating system. They really did quite the marketing campaign on us artists back in the day, huh?
But I find they make solid, durable, easy to setup hardware for creators who simply want to get started and not have to configure anything besides an account and password. Since the hardware is so solid, it’s not uncommon for a consumer Mac to last 10-15 years. So after about 20 years of using Apple products, I’ve ended up with a number of Macs laying around.
2012 MacBook Pro ~
What got me started down this path was resurrecting my 2012 MacBook Pro. I literally pulled it out of the closet after being in there for five years. Still unsure about the motivation, installing Ubuntu MATE 22.04 on it was super easy and somehow made learning about computers fun for me again. Eventually I put Arch Linux on it and it taught me a lot about Linux in general, and I’m still running the same instance (haven’t broken it yet!) I dabbled in python around this time and found it super intuitive. But then I got started down another direction…
2012 Mac Mini ~

Next was turning an old 2012 mac mini into a virtualization server. This little gray metal box came from my Dad (a Linux sysadmin with >20 years in the industry) who saw what I was doing and figured why not enable this newfound hobby. After playing around with a couple of distros and DE’s I realized installing Proxmox VE would be the solution to my needs. You see, I have a couple of OWC Thunderbay 4 drives I wanted to attach and once I learned about ZFS all bets were off. Installation on this was also very easy, and currently it’s in “production” hosting a number of services including a personal VPN, file server, media server, website, and photo database. This machine has become my homelab that I’m essentially a sysadmin for and I’ve learned and continue to learn a considerable amount about Linux because of this computer. Really cool.
2018 Mac Mini ~
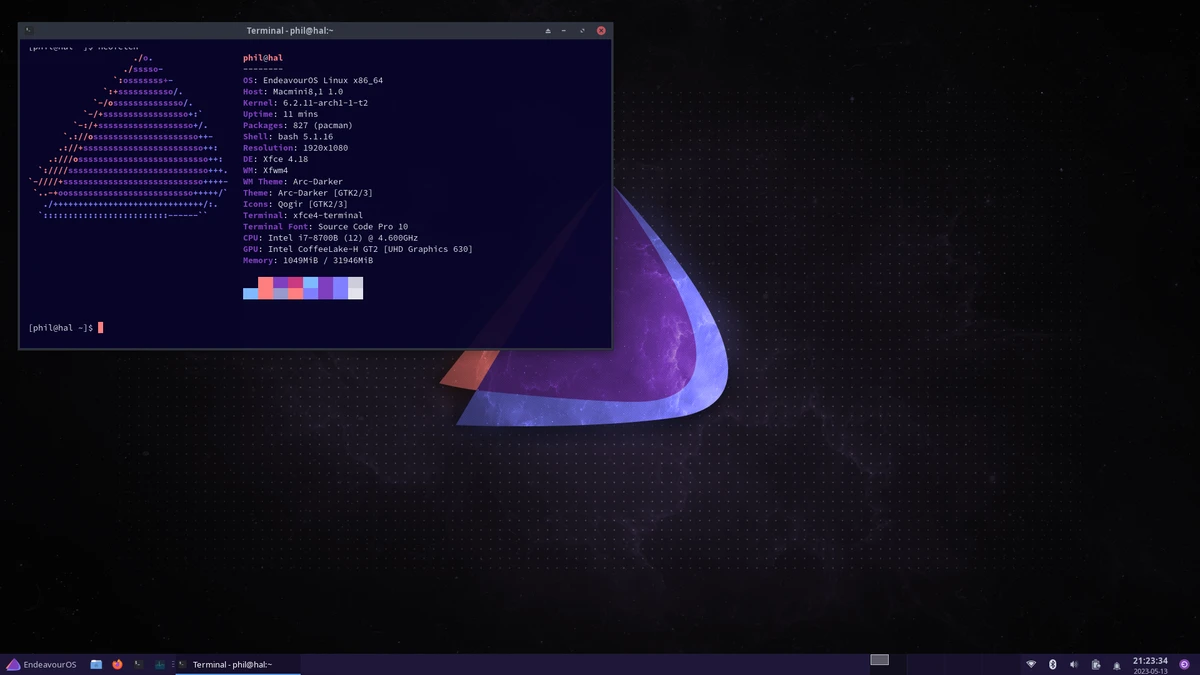
My latest endeavor was to now install Linux on a 2018 Mac Mini I got from my dad after he upgraded to the m2. Thus far, installing Linux on previous Macs was as simple as plugging in a flash drive and booting into a live environment and following the GUI installation. However, installing Linux on this model Mac Mini poses a few challenges due to the T2 Security chip introduced in 2017-2018 Mac models.
Following instructions on t2linux.org, I decided to install EndeavorOS, a flavor of Arch Linux. Chosen due to it needing little to no configuration after install, it has great documentation from the Arch wiki, uses my favorite package manager pacman, and it has access to the AUR.
I need to do more research on how the T2 kernel differs from the normal Linux kernel on a Mac Mini. I know it does a great deal of integration with the touch bar on MacBooks, unsure what it does on something like the mini. Either way, I’m grateful for the developers who work on this project. I hope they continue to maintain it.
I figured I’d share some notes from my install (in addition to the t2inux.org instructions), as some things weren’t super apparent to me. I got a little confused with the EFI partitions, Mac wouldn’t let me change the size of the original. So I added a second one per t2linux.org instructions
-
Perform Time Machine backup. (Always good practice)
-
I had to blow away the hard drive to redo the partition, thus removing MacOS. 🥴
-
Create necessary partitions. I made a /root, /home and a second EFI partition. Endeavor required a larger partition (500mb) than what existed (~300mb) and for some reason MacOS wasn’t letting me change it? So I made an EFI2 which ended up being >1gb even though I chose 600mb, it seems MacOS forced it on me.
-
Reinstalled Ventura from Internet Recovery.(make sure to use option + shift + R, normal recovery mode wasn’t working)
-
Restored original user data from Time Machine backup.
-
Run the script to install WiFi firmware from t2linux.org inside MacOS .
-
Setup startup disk security options according to t2linux.org (there’s no save option, you can simply restart after toggling the selection)
-
Boot into Endeavor ISO and test Bluetooth/wifi/fans/anything else in a live environment before moving forward with full install.
-
Chose systemd-boot when prompted, although Grub would have worked fine as well.
I’m now dual booting MacOS and EndeavorOS! Truthfully I thought it was going to be much trickier, and learned a bit more about both MacOS and Linux in the process.

While likely implied to those smarter than I, I feel like some specifics weren’t mentioned on t2linux.org and figured some additional details might help someone like me if they stumble across this.